How to Grow Great Onions in Gustavus/Southeast Alaska
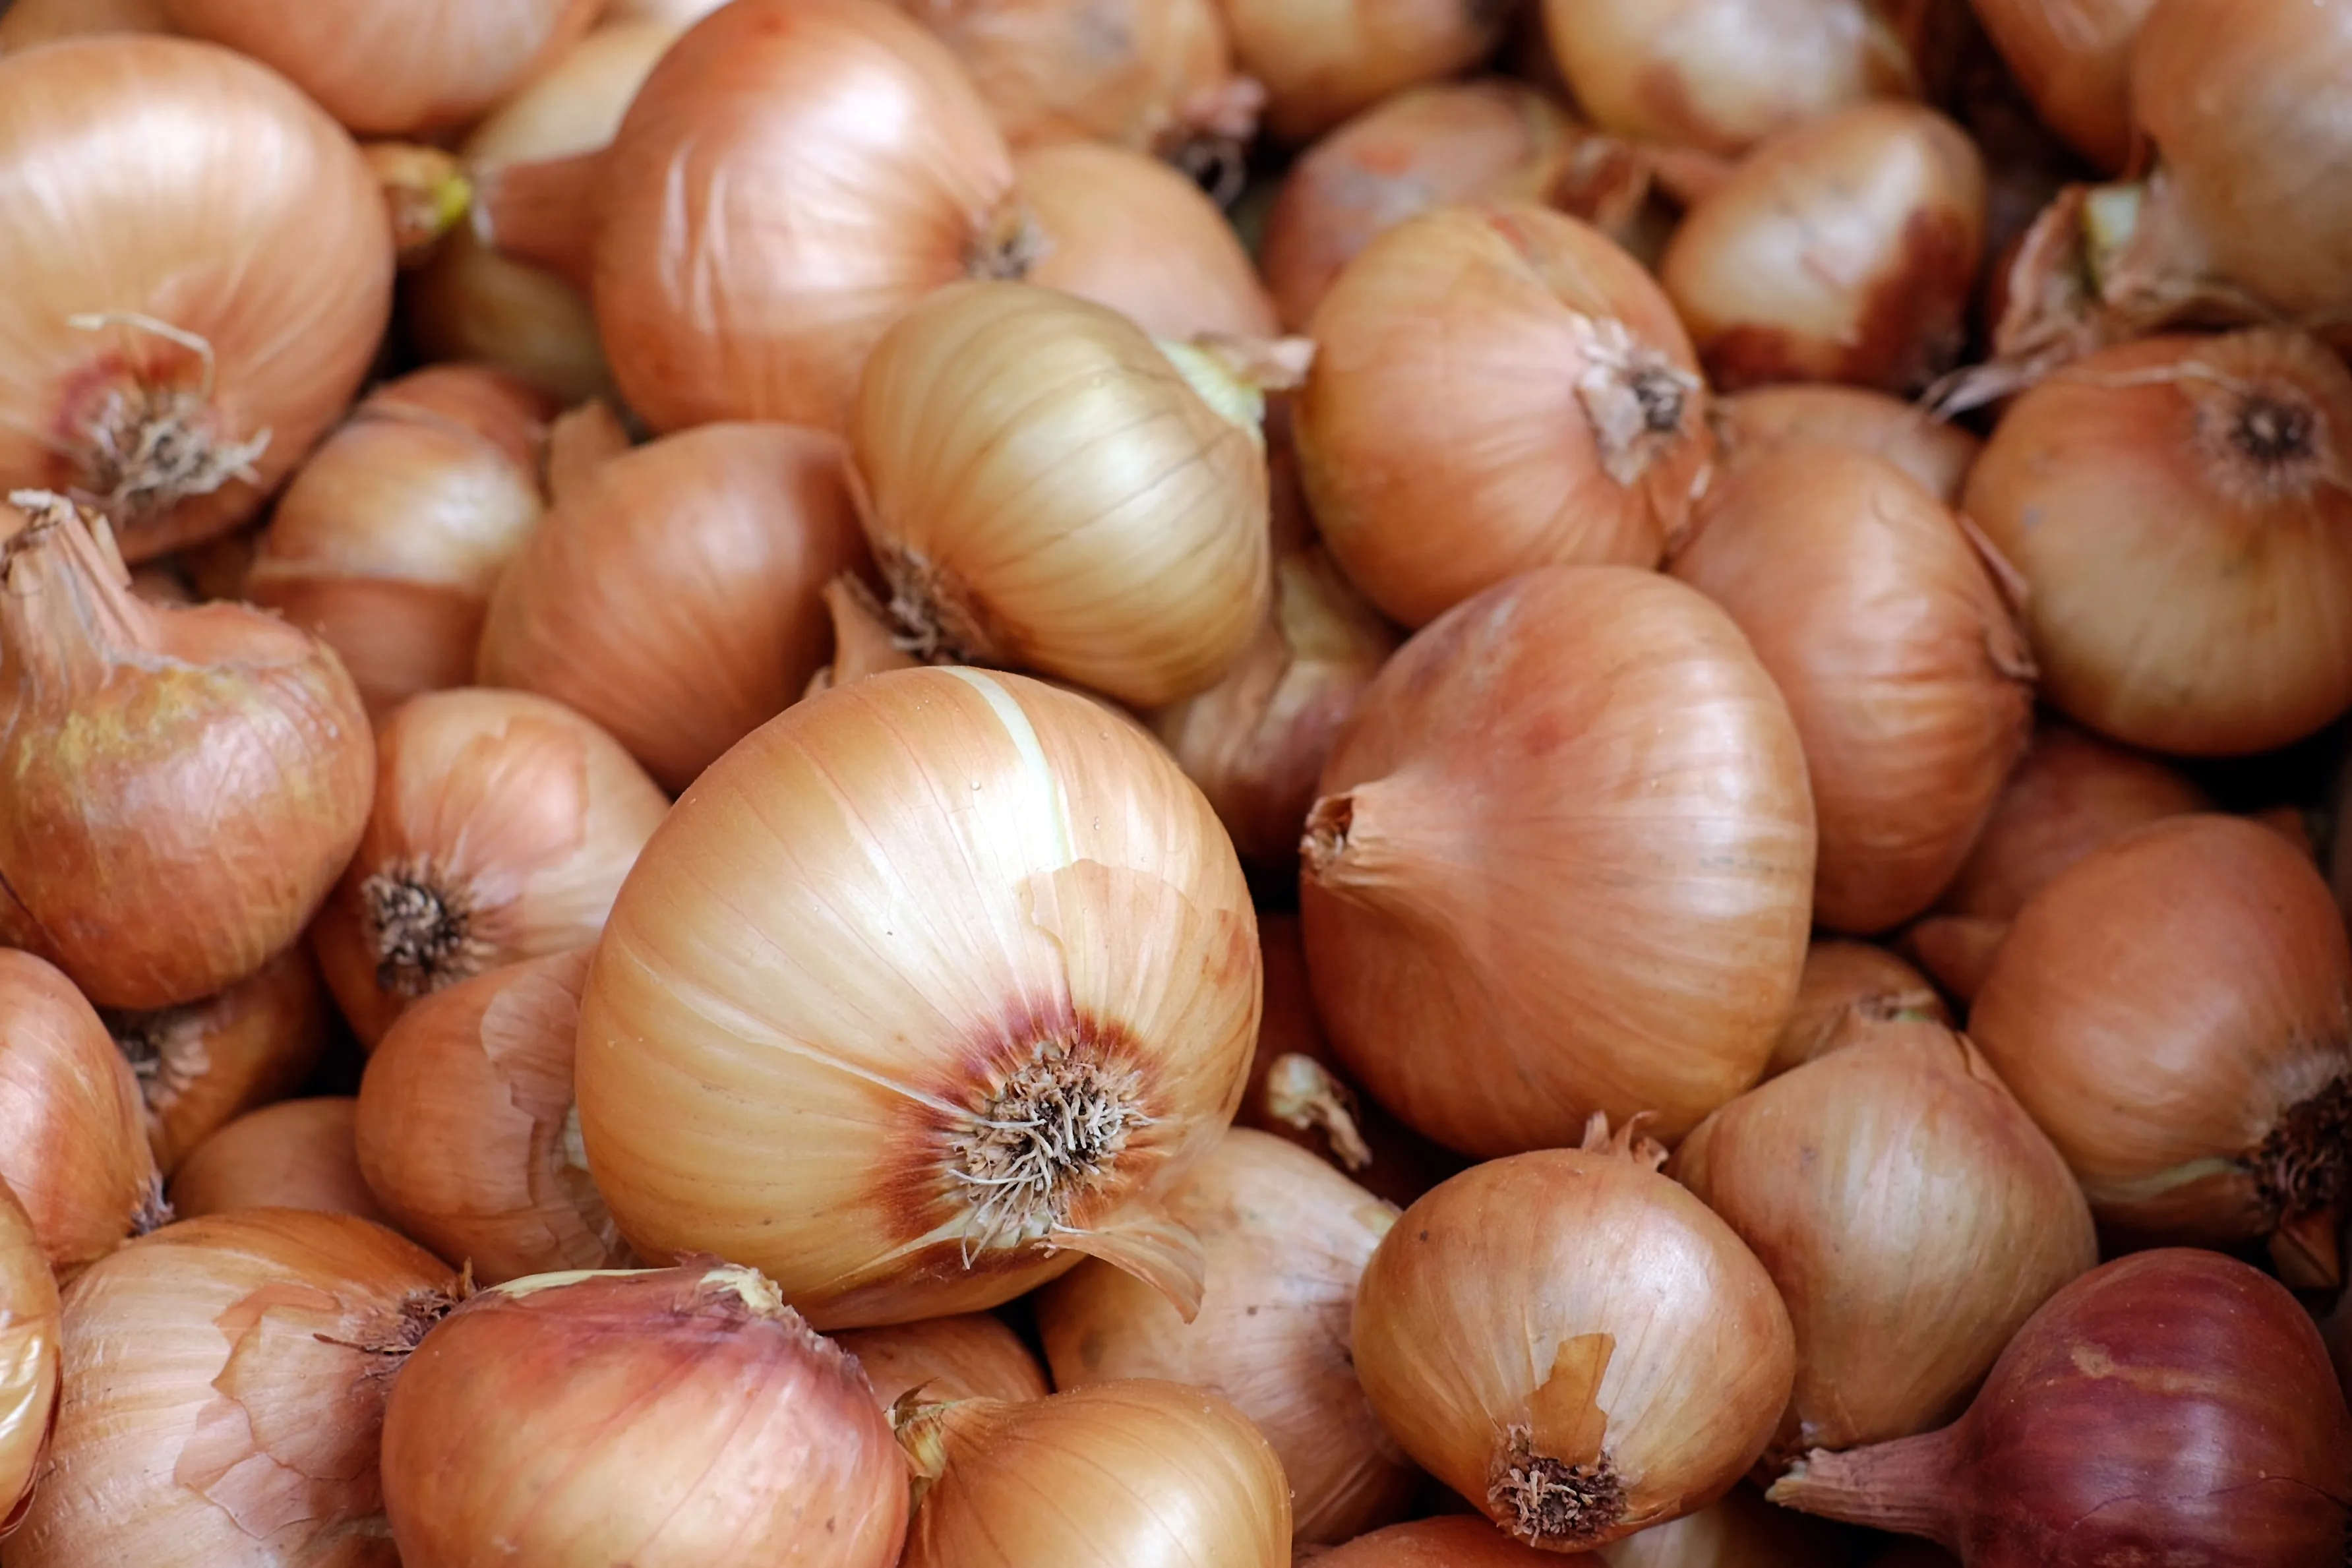
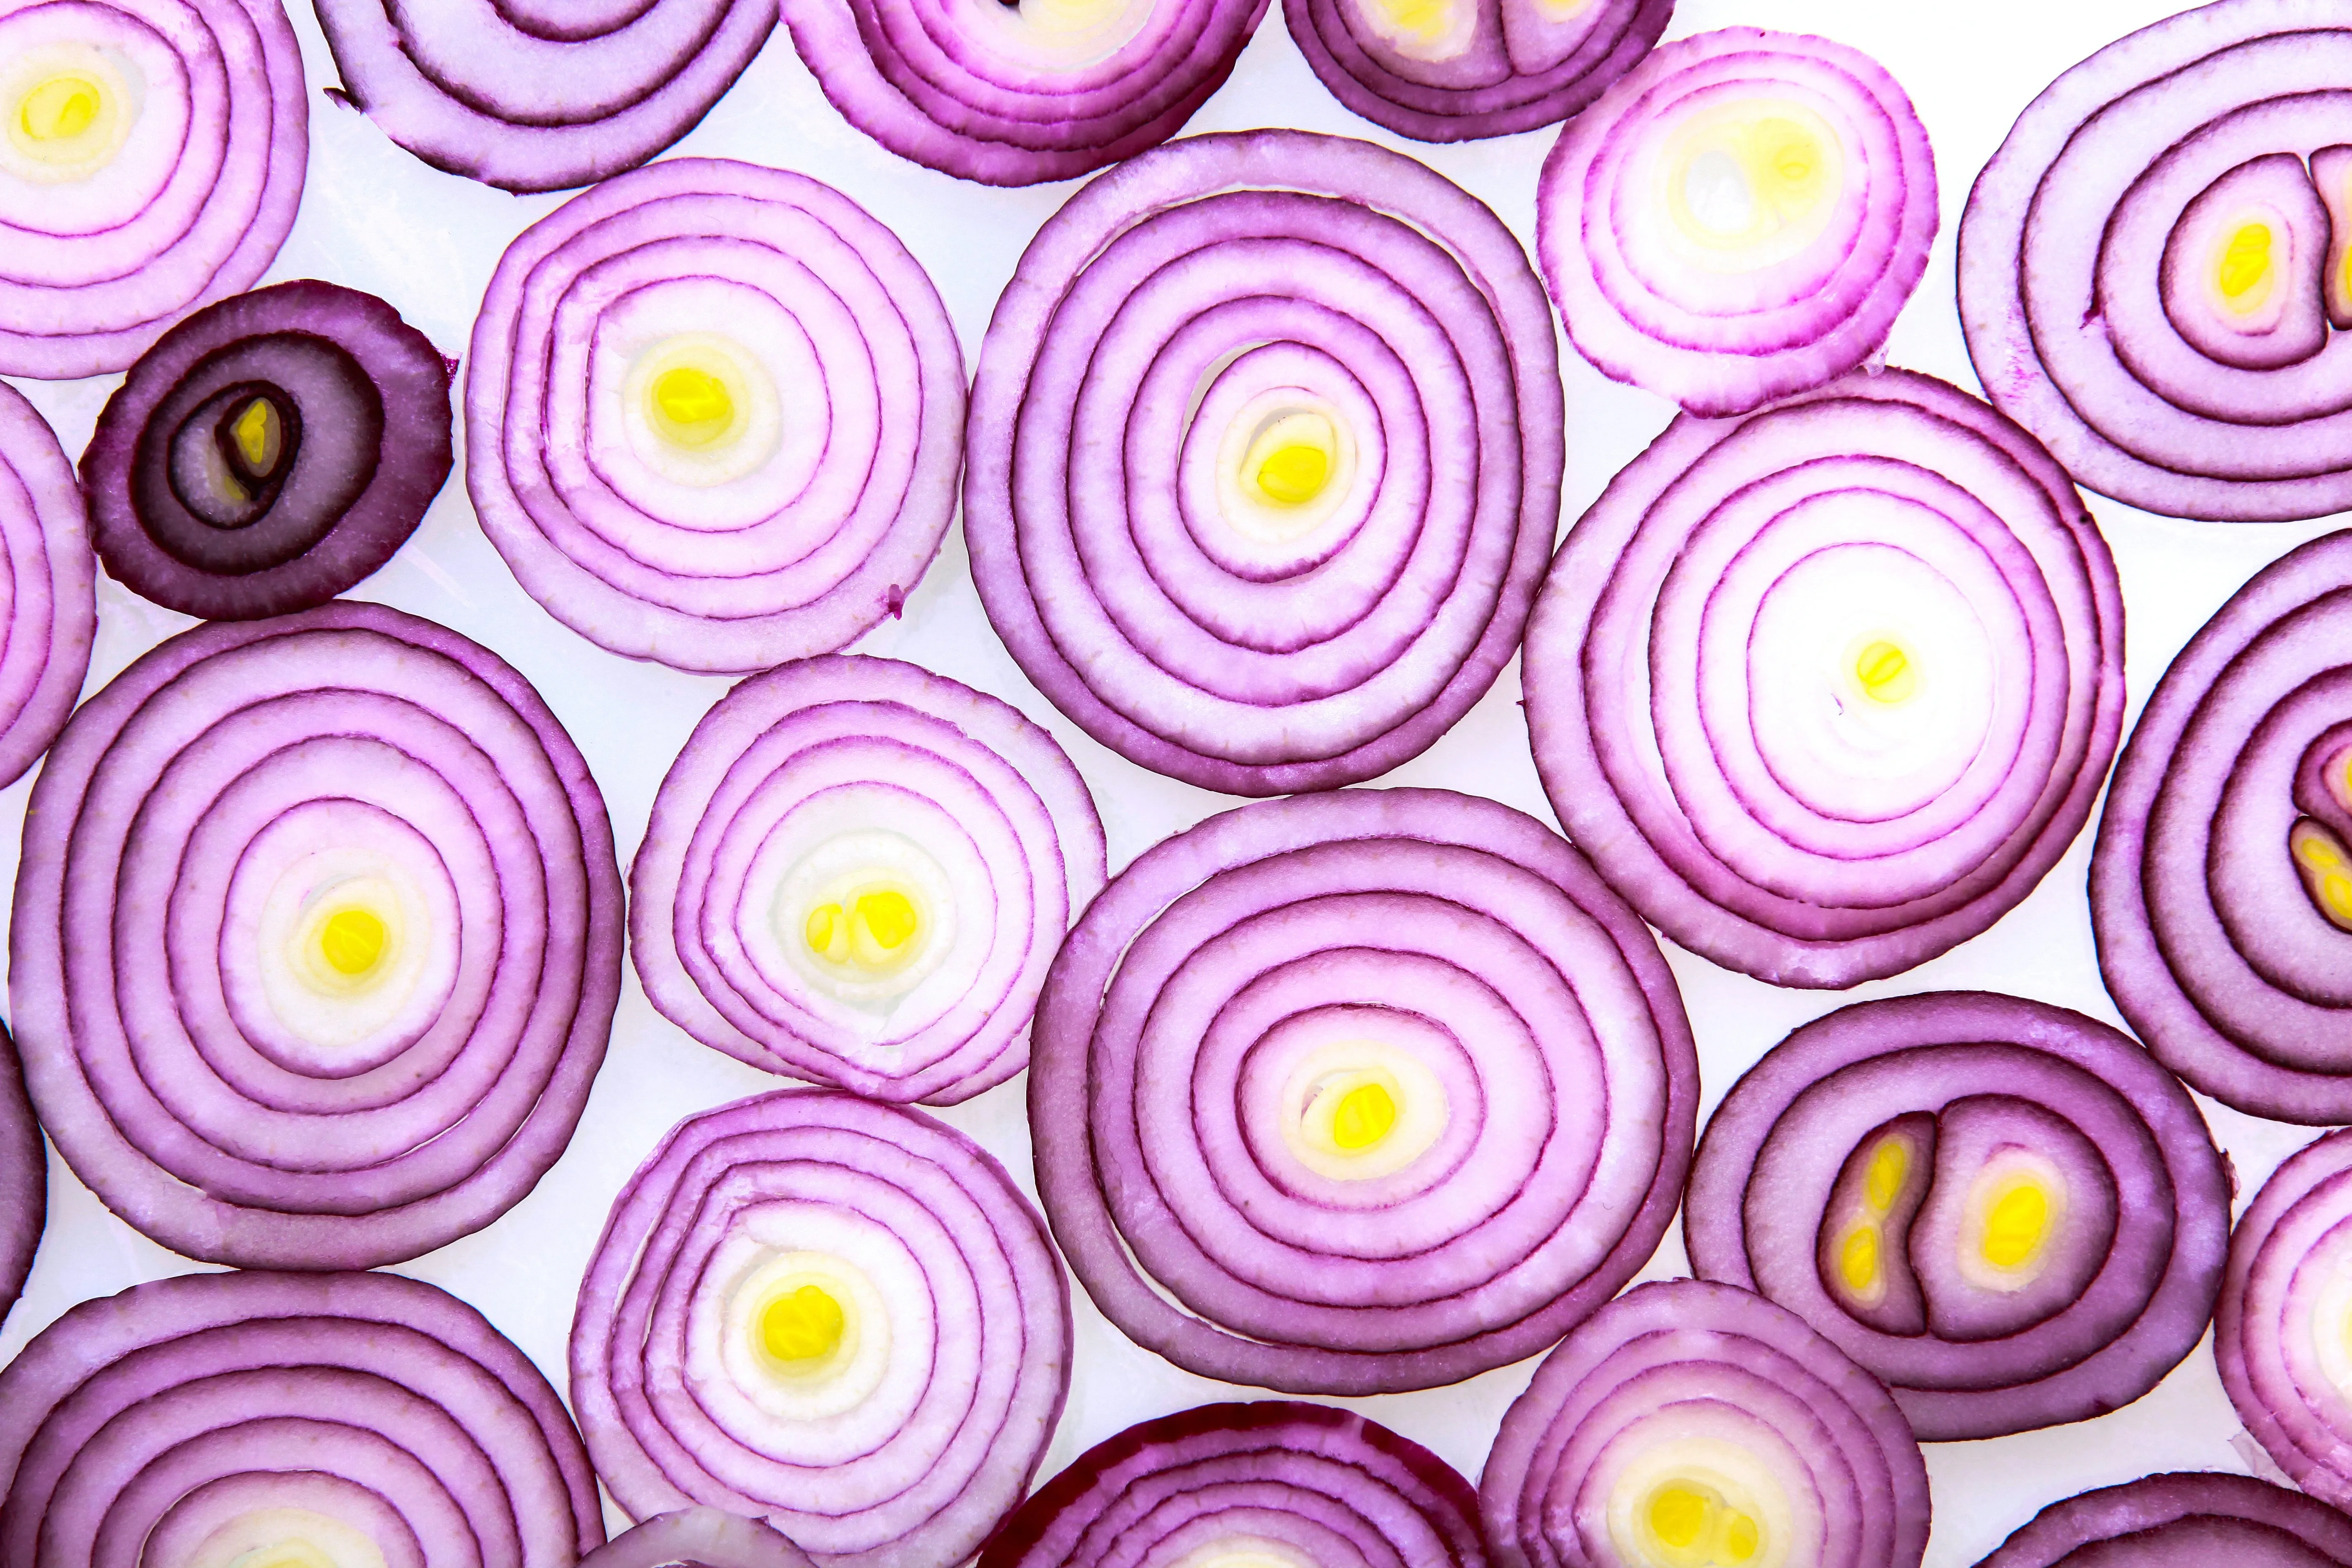
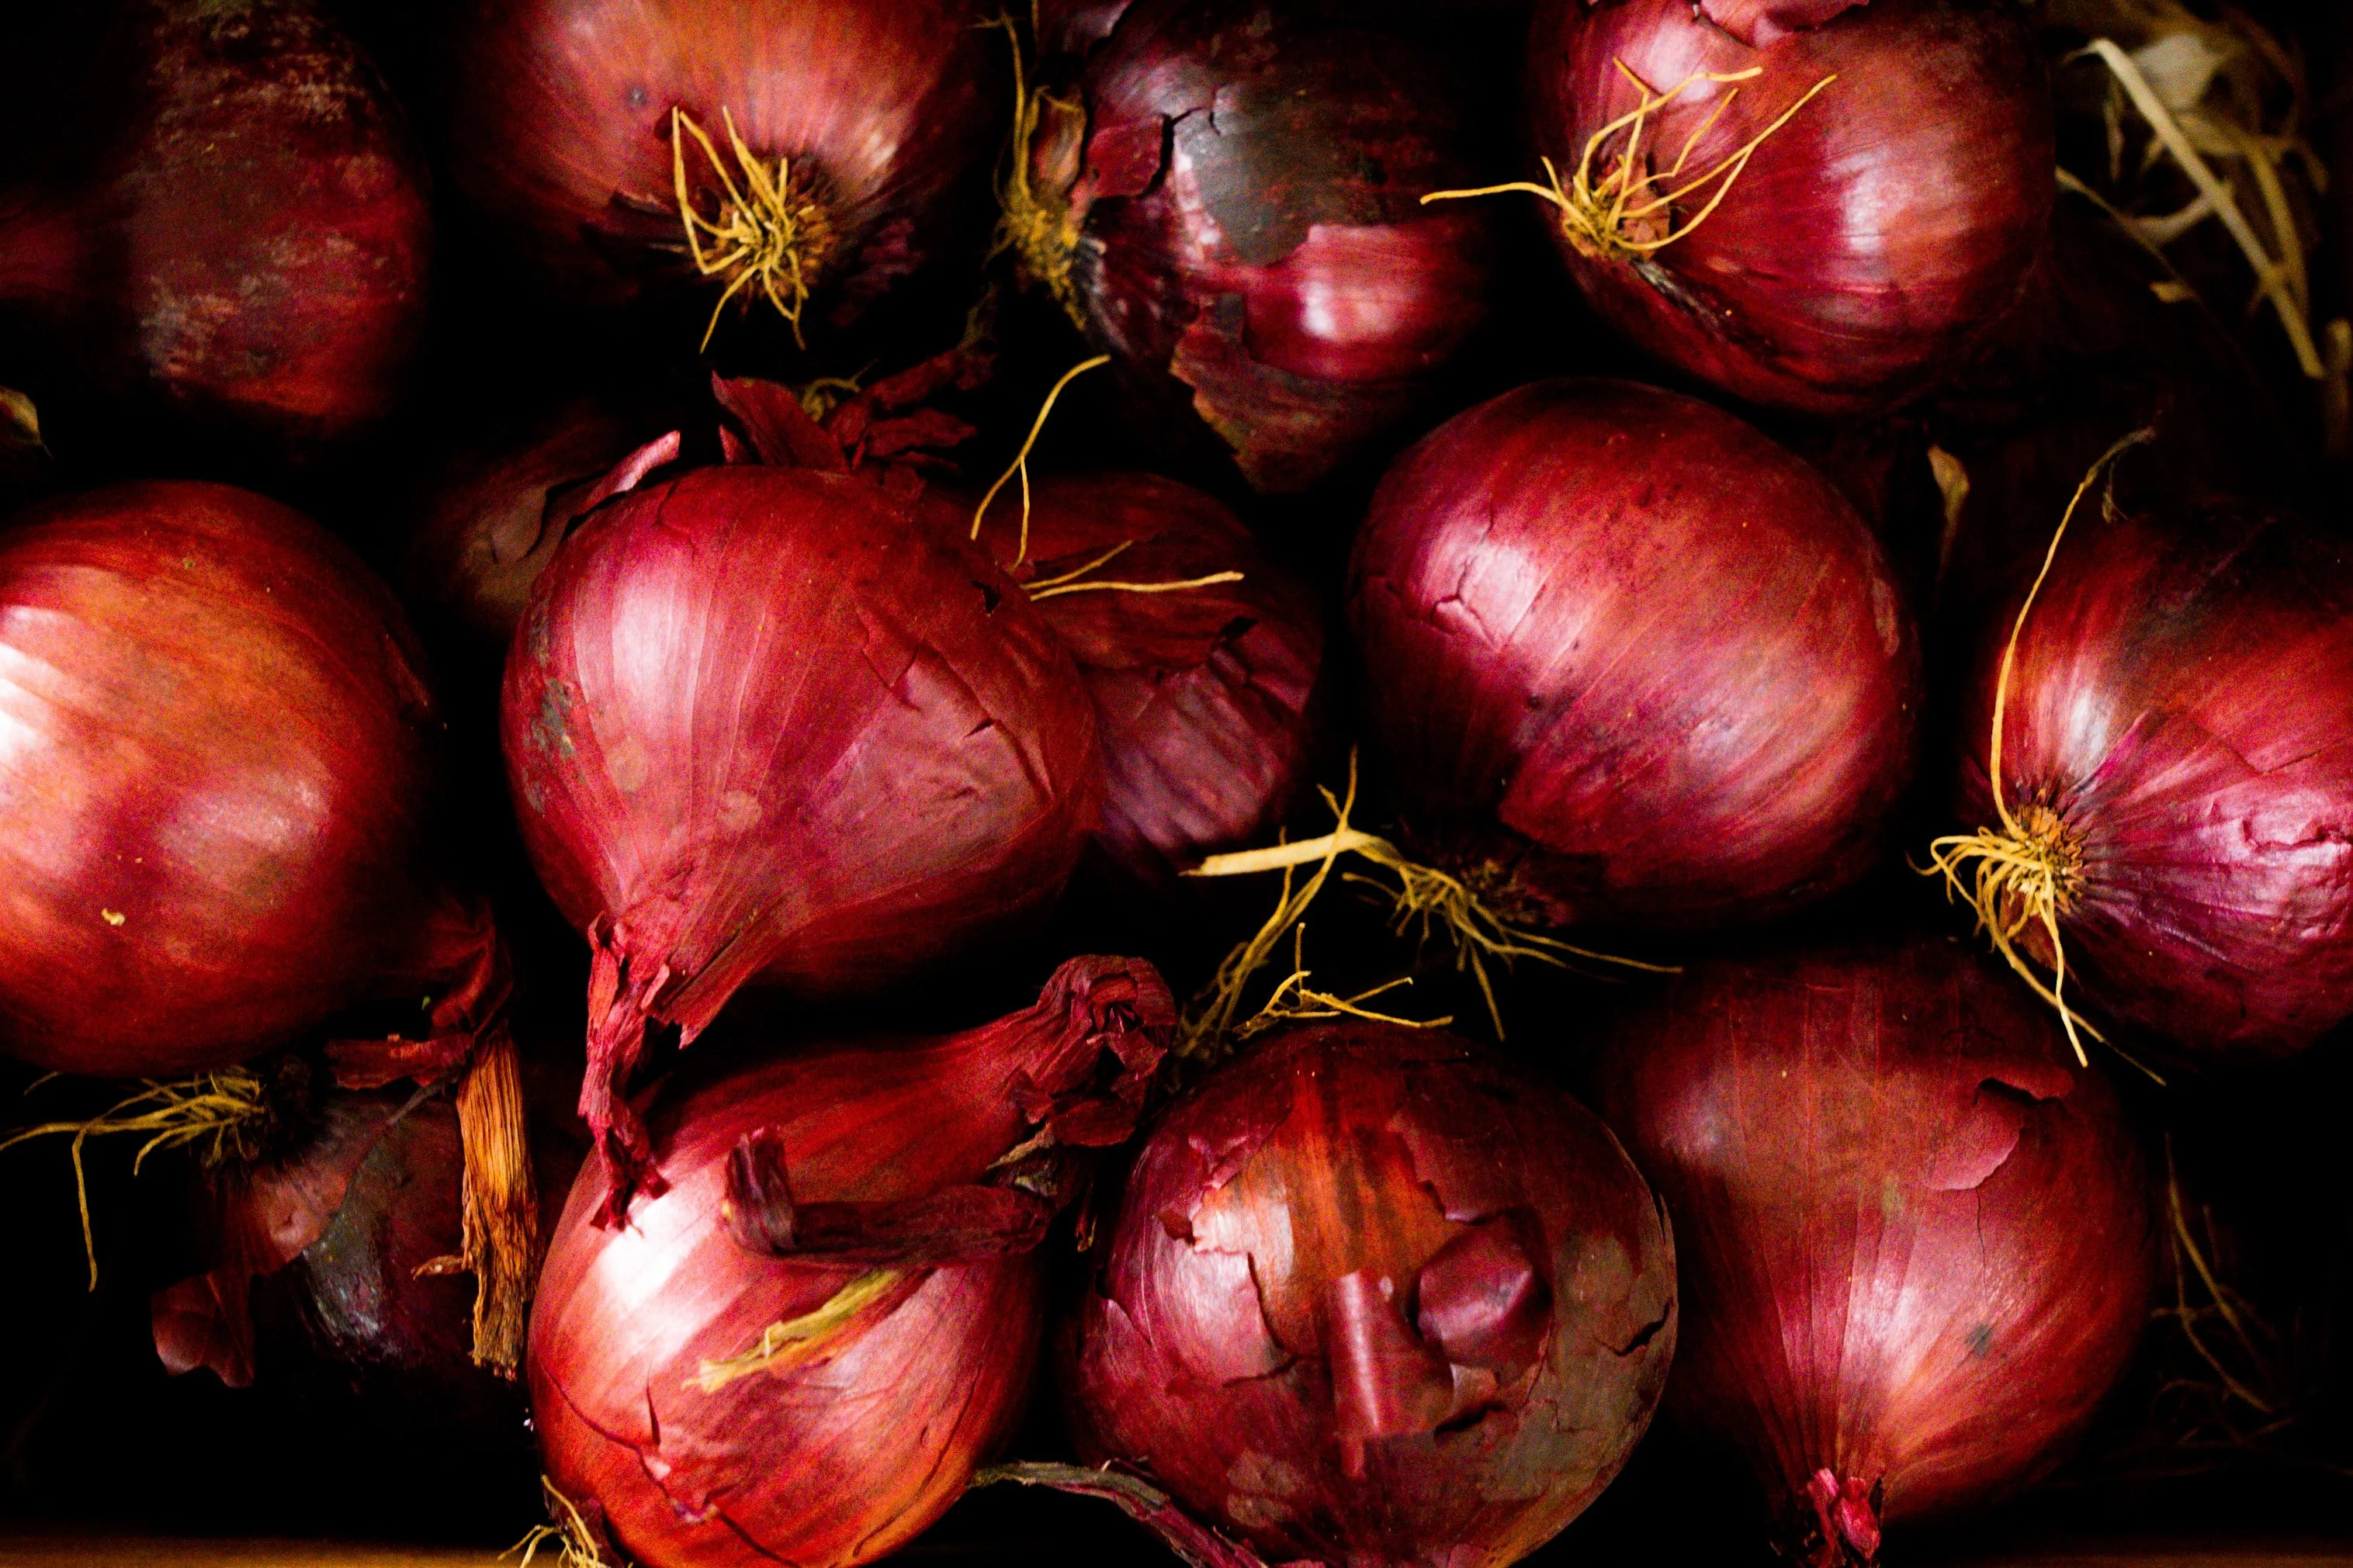
Varieties of Onions to Grow: To grow onions successfully in Alaska you need long day varieties. My favorite varieties in Southeast Alaska are Patterson (longest storage and bulbs get big), New York Early for earliest harvest yellow onions that have decent storage. Dakota Tears and Blue Drode are other yellow onions that have done very well. As for red onions, Red Burgundy and Red Wethersfield have done quite well but generally don’t seem to get as big or store as long as yellow varieties. I tried Italian/Cippolini types of onions and had greater losses due to splitting so they did not win my favor.
How to Grow the Best Onions: In my experience the best onions are grown by seed. Onions take a long time to mature so to successfully grow onions in Alaska by seed you will need to start them in February or March. I start my onion seeds the first week of March and have also had success starting seeds up to the 3rd week of March for harvestable onions in August and September.
Starting Seeds: The trick about onions is that each seedling takes up very little space but they are one of the longest seedling to care for and most people eat a lot of them so you may want to start a lot of seed, which then can add up to a fair amount of space!
Soil Block Method: What has worked for me is recycling bread trays into my seed starting ‘flat’. I put down a layer of thick cardboard across the bottom of the bread tray so that my dirt won’t fall through the large holes of the tray. I then spread a layer of vermipost probably about ½-3/4” thick across the bread tray. This will feed my plants once they develop some roots. I use a ‘5 block’ soil blocker and can generally get about 170 blocks on each bread tray (https://www.johnnyseeds.com/tools-supplies/seed-starting-supplies/soil-blocking/hand-held-5-soil-blocker-7001.html. Peaceful Valley’s quick root peat-less soil mix has been my favorite potting soil in my years of trying various potting soils including making my own; and there are lots of various recipes out there for soil blocking. Load up the tray with soil blocks, making sure to leave a little air space between each block as the whole point of soil blocks is that the air around each soil block will prune the roots of the seedling so that it doesn’t get root bound. I have made the mistake of trying to pack more blocks onto a tray which then can cause multiple problems such as roots growing into one another, or soil becoming habitat for fungus since there is reduced air flow.
Sow Seeds: Put onion seeds into the divot of each soil block, then once the whole tray is seeded cover seeds with a sprinkling of moist potting soil.
Seed Germination: Onion seeds can take a while to germinate. You can put the tray on a heat mat. I use a thermostat to control the heat and set it as the lowest temperature setting of my thermostat is 68F - without a thermostat the heat mats really can put out a lot of heat as they aren’t regulated and power in Gustavus is not cheap! Also if you use a thermostat make sure to periodically check that the probe is in the soil where you want it, as you water or move plants the probe can fall out and then the heat mat will really pump out heat if it is an unheated greenhouse say …. A new trick that I learned this year was to put wet kraft paper on top of my seed surface to help keep it moist and decrease the amount of time spent watering…I left the paper on for several days then removed it. Soil blocks tend to dry out on the edges in particular and especially when used on a heat mat special attention must be paid to making sure the blocks stay moist enough or plants will wilt and give up the ghost.
Live Onion Plants: If starting seeds in March isn’t blowing your dress up then you can let someone else do the work for you. Farms in southern climates will grow onions to about a pencil size then send them to you in a dormant state. If you find a grower that is willing to mail live plants to Alaska at a reasonable rate then you get the head start on the season.
The risk of live plants is that you are importing plant material from another farm and thus risk the potential of importing pathogens from another farm/climate/landscape.
LIVE PLANT CARE: Once you receive live plants keep them in a cool location that has air flow. Remember they are dormant but alive. Putting them in too warm or wet of an environment can cause them to rot. It is best to be get them in the ground as soon as possible but they are dormant and will store for up to 3 weeks in a cool place. Onions are very hardy and are my first transplants into the cold garden soil each spring. Cover live plants with row cover and they will survive frosts and cool temperatures.
Soil Preparation: Prepare your bed as you would for any other plant aerating the soil with a broadfork or if you don’t have a broadfork loosening with a spading fork can help aerate as well. Then shallowly work in organic amendments like compost, seaweed, and/or organic fertilizers.
Planting: It’s pretty obvious that you put the roots in the ground and the leaf stalk up. Choose the healthiest live plants to go in the ground and discard the tiniest or least healthy plants. It is recommended that you trim roots and leaves (especially discard any discolored or funky leaves) and then plant them. Onions tend to push up out of the ground so covering the root with a good amount of soil is great.
We have been experimenting with applications of “Plant Helper” to help mitigate fungal diseases (see the disease section below), a beneficial fungus originally harvested in Alaska. A dusting on the plants and a soil drench a the time of planting and then another drench a few weeks later seem to be helping mitigate some of the losses we have experienced in the past.
Growth: Once you put your onion babies in the ground it will take a while for them to get established as they need to come out of dormancy and get rooted in the ground, then they can put energy upward again. It will feel like they are just sitting there until one day you notice that they magically have greened up and are growing! Make sure the soil in your onion bed stays moist during the early season (generally not a big problem in southeast Alaska). I generally water with dilute liquied fish fertilizer and seaweed at the time of planting my live plants or seedlings and another application or two as they get established.
Frost Protection: It is important to use some kind of hoop or framework to support the row cover as onions don’t have as much structural integrity as other plants to hold up row cover and heavy/wet row cover will smash your plants. We leave row cover on our onions until mid-late June. The row cover protects the onions from frost early in the season and then protects the onions from onion maggots in the early summer.
Cultivation: I think of onions as fairly low maintenance, they have very few needs and don’t like to be messed with. I would not suggest putting them in a bed with a high weed load as the more you disturb the soil around your onions the less happy they will be. Some folks plant their onion in plastic to reduce weeding. I plant my onions on a much closer spacing than it makes sense to do this – about 5-8” apart for each plant- I tried using plastic one year and by the time I cut holes for all my onions I had more holes than plastic left making this a exercise futile. Onions do prefer to be on the dry side vs the wet spectrum so this is an advantage of plastic.
As your onion crop grows you will want to make sure it gets occasional water if there is a dry spell – overall onions tend to prefer drier conditions so will tolerate any good weather we are blessed with. We top dress our onions with a second application of compost mixed with seaweed in mid-late June. Get low to the ground to do this so that you are spreading the mix around the bulbs and not damaging the leaf growth. This is a practice of patience.
Disease: Oh the price of living in a temperate rainforest. Monitor your onion crop occasionally for diseases-
Botrytis Leaf Blight is what I see very commonly.
and there is of course more...
https://www.extension.purdue.edu/extmedia/BP/BP-23-W.html
it’s depressing how many pathogens are just waiting to proliferate on your crop!
HARVEST: We harvest leaves from our onions during the summer to add to salads. If you leave damaged leaves in the field they create too ideal of habitat for slugs so I try to remove dying/damaged leaves from the onions every week or so. Leaves that are bent over become our garnish, ideally before a slug has taken up residence in them!
Once the onion has a good size bulb on it in August or September it is ready to harvest. If there is a relatively dry spell that is a great time to pull onions. In other climates they have the luxury of letting their onions fully mature in the field and pull them once the tops have withered. Generally that is not what happens in southeast Alaska— I pull our bulbs during a relative dry spell or before a big rain event. In our climate I recommend cutting off the tops- the greens can be dried for soups (not much flavor is maintained) or added to pestos/sauces. In other climates you are advised to spread onions on racks in a cool location. Here in Southeast conditions we built a greenhouse with racks to have a warm, dry place to dry our onion and garlic crops!
Curing: Curing will take 4-6 weeks. For more even curing a fan is helpful. Also removing dirt and root material—we need every advantage we can get in this climate! Small onions will dry faster than large onions. After several weeks clip back any tops that are remaining and the onion neck should be dry. Any bulbs that are sending out sprouts will not store well so eat those first.
Storage: Store onions in a cool, dark location. We have our onions in a hallway near our entryway and a window that is open (to varying degrees) most of the winter. Trays of some sort are ideal for keeping good air flow (again I use bread trays for storage through the winter and our onions have lasted through an entire year). Something like a milk crate or cardboard box is not as ideal but will also work as long as your periodically go through and take out any onions that are not in prime shape throughout the winter.
Enjoy your onion crop!