
Year Round Vermiposting in Alaska
Trials and Lesson of Outdoor Worm Bin Designs for Southeast Alaska...
Hopefully my experiments inspire you to make your own perfect system!
One of the best resources I found for getting started with worms
kudos to Bentley the "Compost Guy" for his enthusiastic sharing of info and lessons!
True story, my first worm bin was a barrel inside a tub in an unused bathroom of our house. The barrel was an old 25 gallon metal barrel with a latching door cut out of the side so I was able to prop it on its side and it rested nicely on the rim of the tub. The pros were that of course we didn't use the bathroom and it was in an unheated section of our house that doesn't freeze and has a door separating it from the main portion of the house that we inhabit.
The cons were more numerous. I was adding not only our household waste but also restaurant waste to the bin through the many months of winter. The somewhat saturated ooze I was dumping into the bin spiraled moisture levels out of control. I tried to correct for this by placing a bucket under the barrel to catch drippage. we unintentionally bred fungus gnats which were able to find their way into the main portion of our house which was less than ideal. Lesson 1 was to have plenty of paper ready for an entire winter's worth of composting. Because I wasn't able to appropriately regulate conditions for the worms some of them could be seen crawling around on a suicide mission for a better home.
An outdoor solution became imperative!
The barrel came with our property and it took a long time before I realized it was a composting barrel. The barrel is bolted to a frame and can tilt 180 degrees. The lid is a nice feature. However I learned that even outside a barrel is still not an ideal environment for worms.
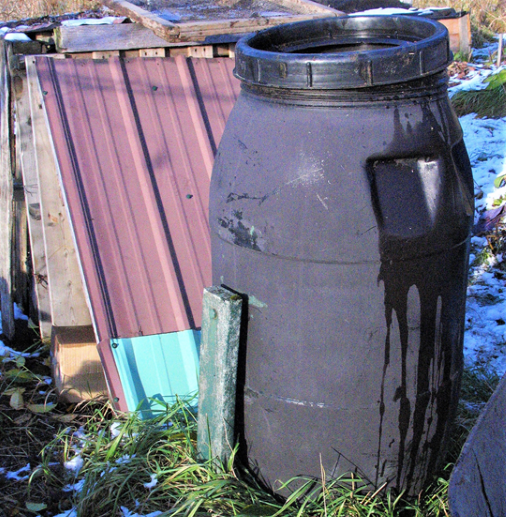
The black color of this barrel is great for heating in the north but might be too hot on unusually hot days in Southeast Alaska. Ventilation is limited and moisture control challenging.
The person who designed this made a great theoretical feature with the inner spinning rod, however I found that I had far too much for the mechanism to spin.
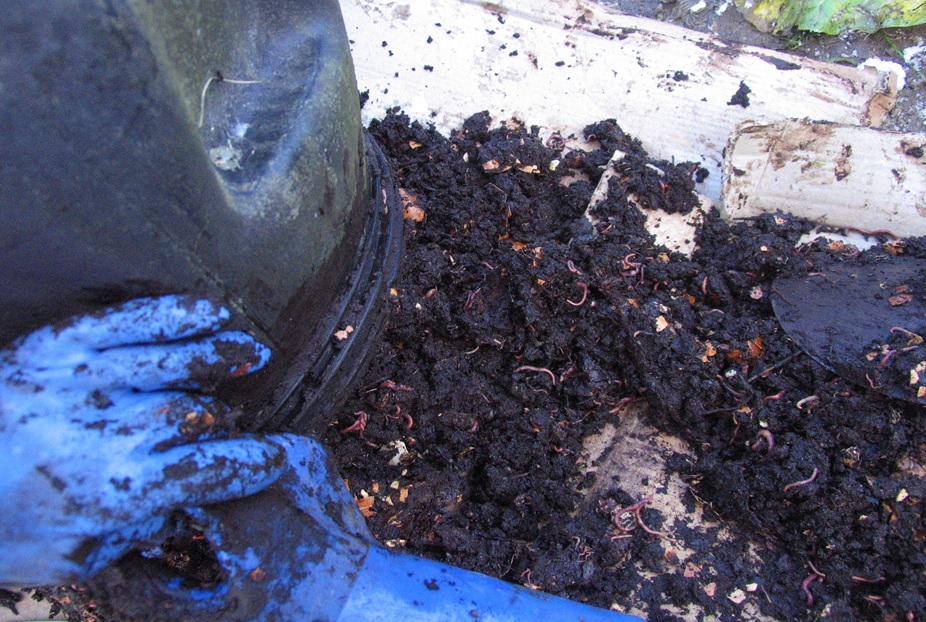
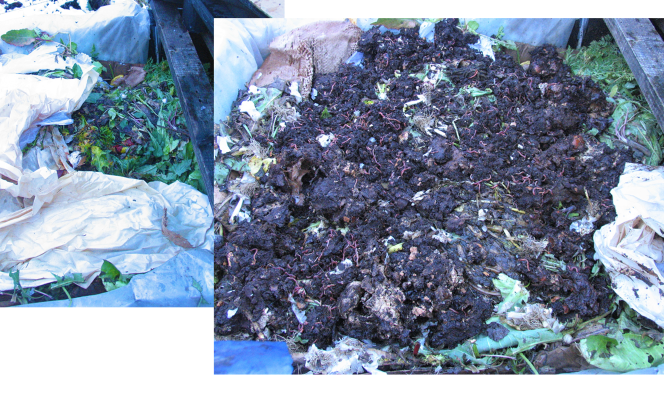
The photo below is EXTREMELY wet vermipost, far wetter than ideal.
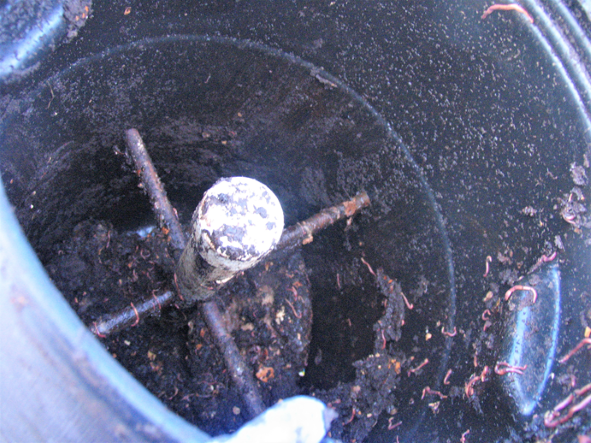
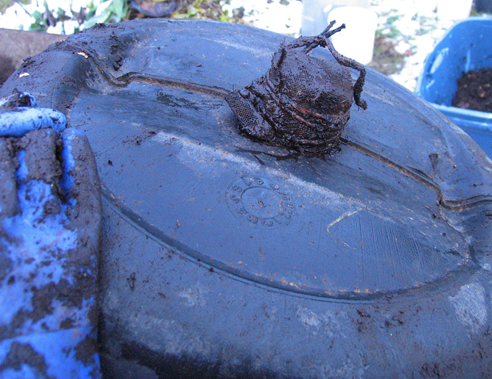
I added nylon mesh to prevent worms from crawling out of the base.
One of the biggest assets of this barrel was the ability to just rotate it upside down to dump out the vermipost
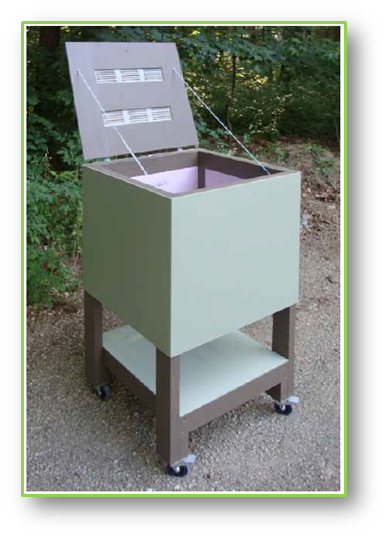
In the meantime, I purchased a “The Worm Inn”© bag (below) to get me through the summer as I looked for a long term winter solution. The MegaStand Design are easy instructions for building the frame for the bag.
“The Worm Inn”©
“The Super Simple Worm Inn MegaStand” ©
By Blake Ketchum & Bentley “Compost Guy” Christie
www.RedWormComposting.com
www.Seed-Balls.com
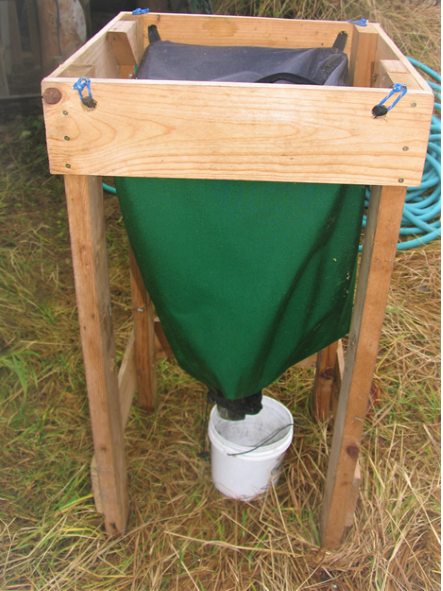
A great design point is that you release the finished compost out the bottom over time.
I actually used this bag through much of a winter by wrapping foam around it and putting insulating material on top. Again you will want a bucket to catch any extra moisture. It's a great design for a household use on a porch (as long as not accessible to bears) or in a garage.
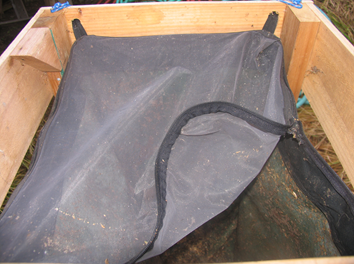
A user friendly design of the “The Worm Inn”© is it's zip open top with bug proof netting.
Not the ideal long term solution for outdoor composting in the north or for large amounts of material, our compost far exceeded the capacity of this single bag. To give an idea of our composting scale- in the summer we have multiple piles 8'x8' going at once. These piles are covered by Compostex fabric purchased from that company in Vermont, a composting fabric that allows piles to breathe and prevents excessive rain from inundating your piles...an important feature in the Northern rainforest!
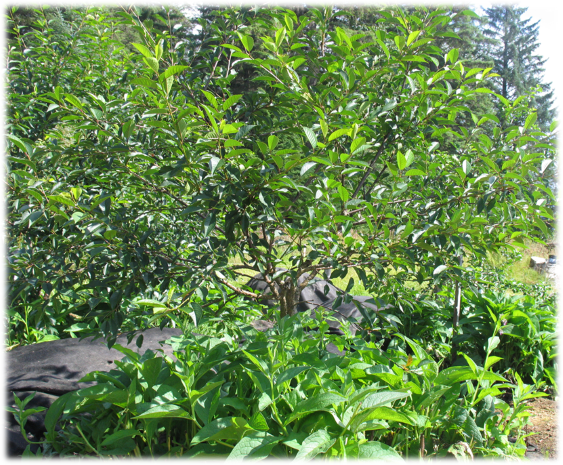
So the experiments began with outdoor bins. My first mistake was to put these bins in between our young fruit trees and berry bushes. At the time I did this as this was the only area where we had electric fencing established for bears, so it was the best place to put bins at the time. Note that putting any type of compost near fruit trees is not a good idea for the long term health of fruit trees (at least in the north).
Please note that I am not a builder, my designs are all very rudimentary and utilize scrap materials. Function above beauty!
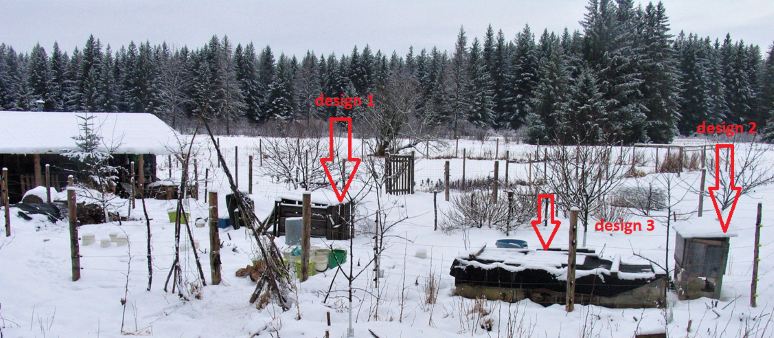
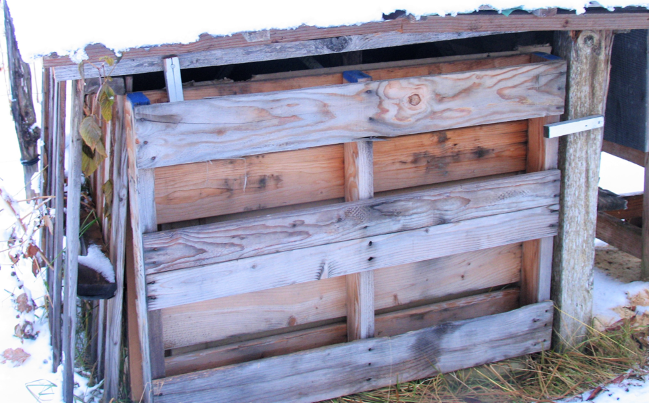
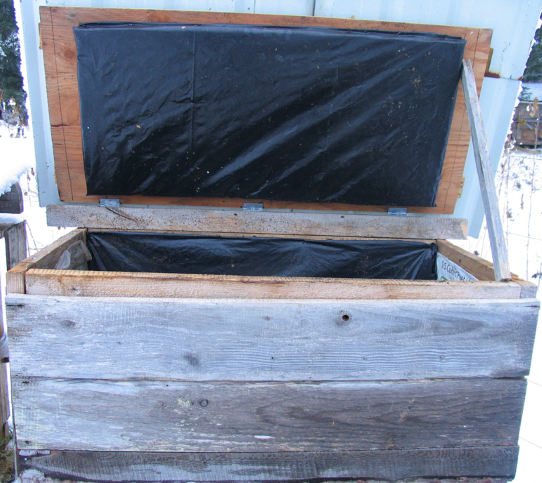
Design 1: 5 pallets and a plywood top. A pallet on the bottom with plywood or several layers of cardboard to prevent compost from falling through the cracks of the pallet. 3 pallets as walls. A lightweight pallet door, with a small piece of wood as a latch to hold the pallet door in place. The benefits of this design are simplicity. The cons are that it needs insulation to make it through the winter, a plywood top is not strong enough for winter snow load and it is only one bin so capacity is limited. You will need to have a cut off point for the worms to finish this compost and you will need a place to start new compost and move the worms into it. To address this I added more pallets to have multiple sections. In a warm climate or just for summer month this is adequate but not for worm survival and active vermiposting through the winter.
Design 2: I purchased the designs for VermBin 24©
Flow-Through Composting System
By Joe Denial & Bentley Christie
I recommend buying the design (very affordable and support these guys great work) then adapt it to your needs. It's a great household size bin...
Well, my bin is not quite as perfect! All re-used materials

Key Features:
•Insulated Roof and Side Walls
•Hinged Lid
•Vents on 2 sides
•During cold weather block vents with foam
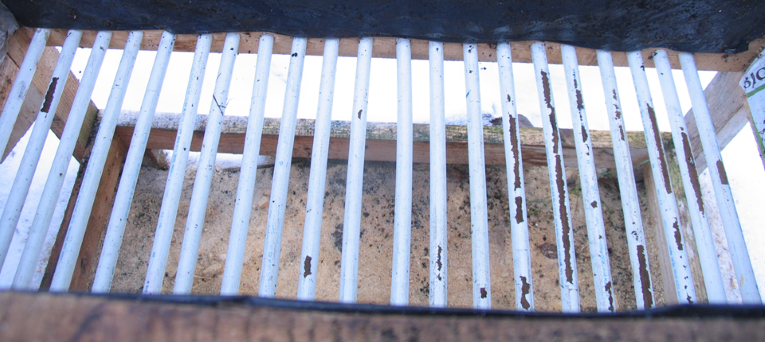
•Bottom Flow Through
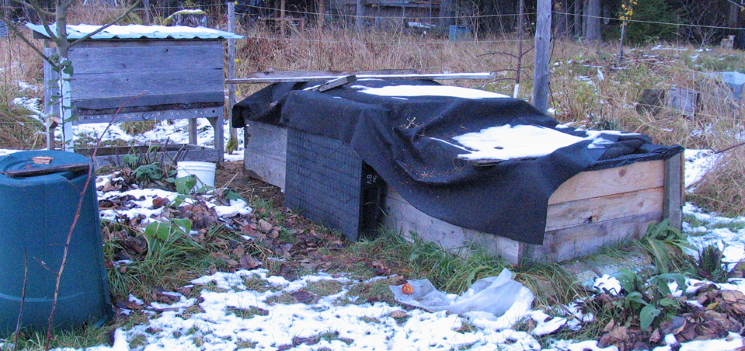
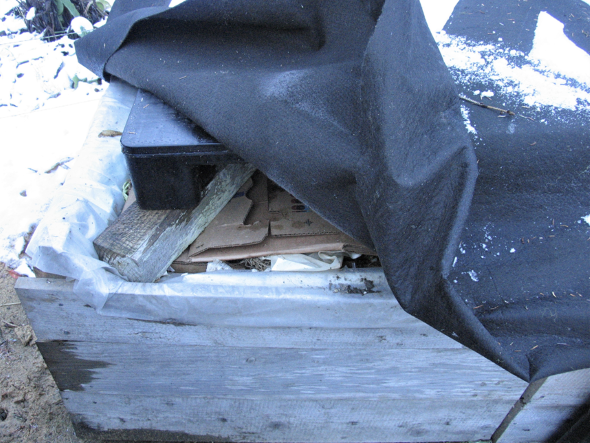
Insulated walls and roof covered with plastic to prevent foam from getting into vermipost
plenty of ventilation and efficient use of gravity for finished material to flow
happy worms, this is a fantastic design for overwintering worms outside.
Key 1: a thermometer to monitor temperature
Key 2: adding fresh compost material and bedding material every 7-14 days will help keep your worms warm through the winter. I actually had issues with temps getting too high!

My best vermibin for our scale. Though the above bin was great it was still too small for our scale.
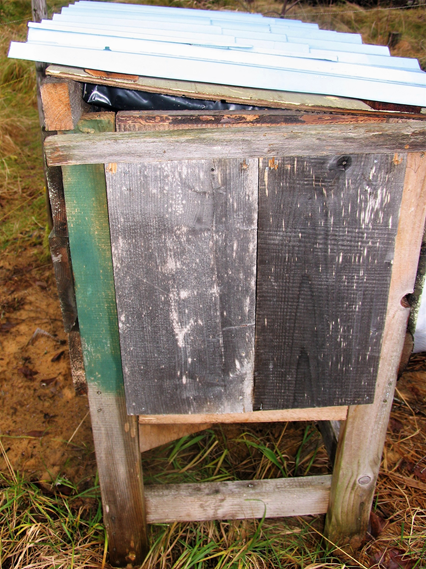
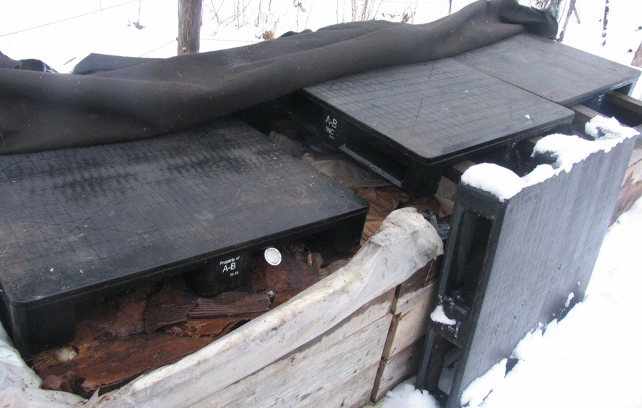
Pallet Worm Bins: 3 Pallets Long with dividers
•Insulated 2” on all sides
•Floor: pallets packed with sawdust
•Cover: Compostex Fabric
Pallet Vermi-Bin Design:
•Wood Pallet floor-pack with wood chips
•Wood frame for side- about 3' tall for easy access (I am short so this is a good height for me)
•Along the inside walls add a minimum of 2” insulation on all sides
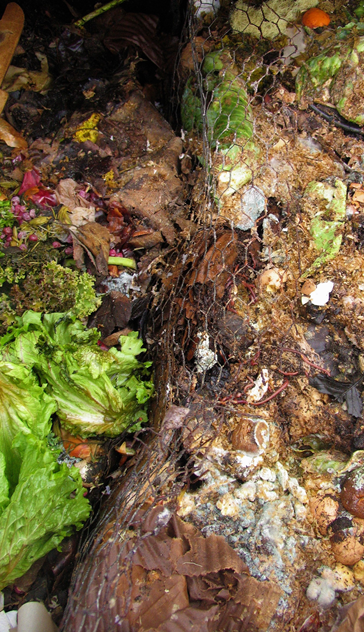
•Chicken wire separating compartments
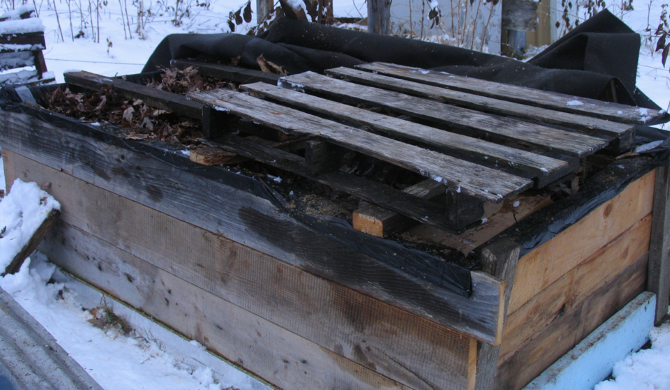
•Lightweight pallets to cover
•Compostex fabric top
There is 2" of foam on the inside of the walls. I originally also added some scrap foam along the outside base of the bin but have since removed these as they are unnecessary and you end up kicking them when working around the bin.
I use leaves, cardboard and lightweight plastic pallets (discard from local beer distributor) to insulate the top of the bin.
Hard to see in this pic but there is chicken wire dividing the 3 pallet bins. In this way, their can be active and inactive composting bins. Worms can migrate from finished material in one bin to newer material in another bin.
I try to rotate so that my active bins in the summer months are one of the outer bins, and during the winter my active bin is the one in the middle so that it is more insulated.
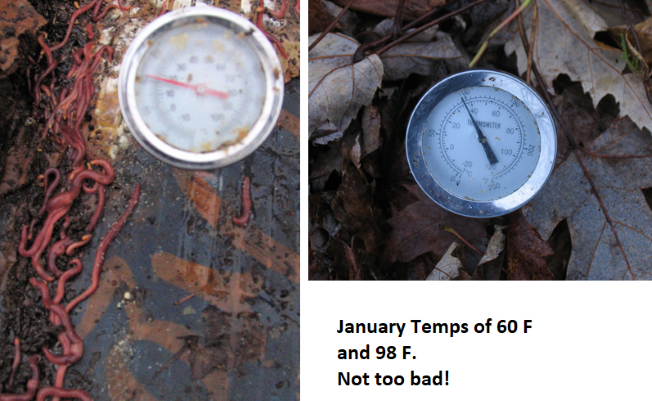
Temperature
99° F in January 2018
After a couple weeks of temps hovering around and below 10°F
January 2019 average around 60 F
If it hasn't been too cold one can dig down a little ways and find happy worms. In prolonged cold, the worms migrate deeper down to the ground. I filled the spaces of the bottom pallets with sawdust to help provide insulation and long term bedding for the worms.
The biggest drawback of this system is that at some point you have to dig the finished vermipost out of the bins.
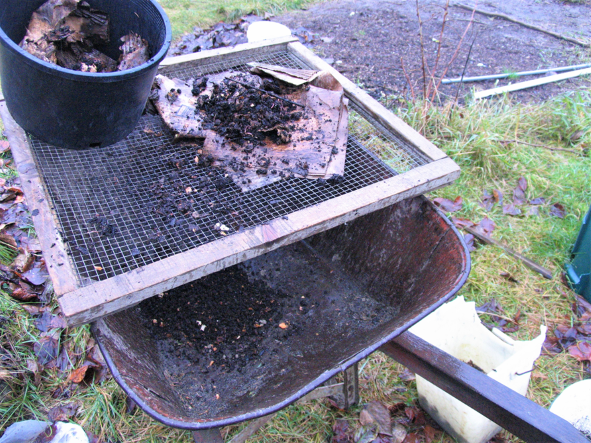
In the above pic I needed vermipost before all my worms had migrated to a new section which meant a considerable amount of time screening worms out of the vermipost. A good lesson to plan better!
My tips to successfully overwinter worms in the north:
•Must feed every 1-2 weeks during winter
•Monitor temperature
•Monitor moisture
•Air circulation
•Screen off finished compost at least 1x year
and VERY IMPORANT IS PLENTY OF BEDDING MATERIAL FOR THE WORMS. My favorites are leaves and packing paper. Non-toxic material.

I used to closely monitor the bins. Over the years I have gotten much more confident that the system works and the worms are fine! My understanding is that if your worms do freeze that the eggs will still survive so all is not lost if the system does get too cold. For the first couple winters I was testing the system I moved some large bins of compost with a stock of worms into my greenhouse surrounded by lots of insulation for the winter to make sure I would have enough worm survival but I have stopped doing that as the system has thus far worked on its own
I hope you have fun and success with worms too!
Feel free to ask questions or add your own success systems!